Conventional NDE Services
- Ultrasonic Flaw Detection
- Ultrasonic Thickness Measurement
- Liquid Penetrant Test
- Magnetic Particle Test
- Hardness Test
- Radiography Test
- Positive Material Identification
- Heat Treatment
- Direct Visual Inspection
- Helium Leak Test
- Spark (Holiday) Testing
- Vacuum Box Test
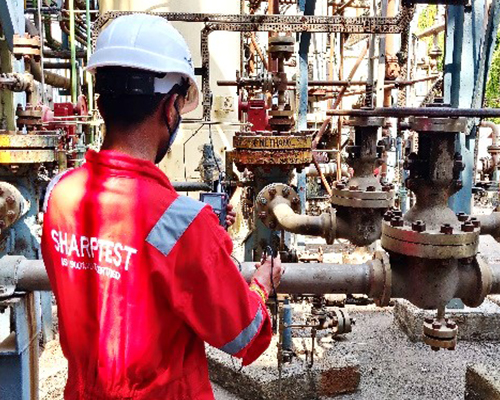
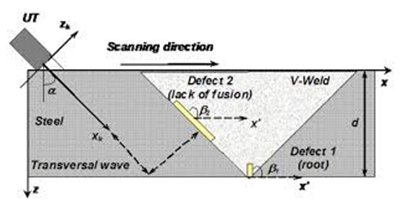
UT of Butt weld joints are conducted as per ASME Sec. V Article 4. Weld joints having thickness of 6 mm to 300 mm are tested for internal flaws. Butt weld Joints of Pressure Vessels and piping are tested with this article and acceptance criteria is followed as per EN ISO, JIS, ASME SEC. VIII DIV. 1 App. 12 and ASME B 31.1 & 31.3 respectively.
Structural Steel weld joints are tested as per AWS D 1.1 testing Procedure. SHARPTEST Having the technicians experienced in UT of T, K, and Y weld joint as per API RP 2X.
Ultrasonic Testing of weld joints for in service pressure vessels and piping for Refineries and Petrochemical Plant are carried out for detection of in service discontinuities like cracks, (Fatigue, Creep and corrosion).
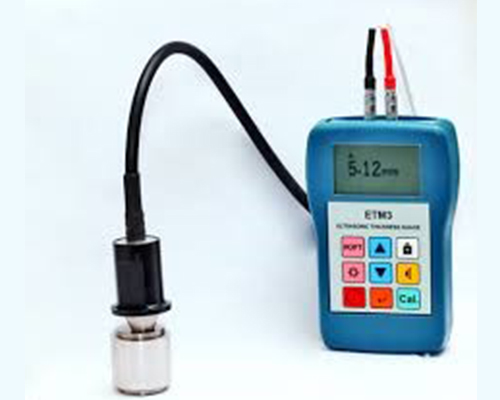
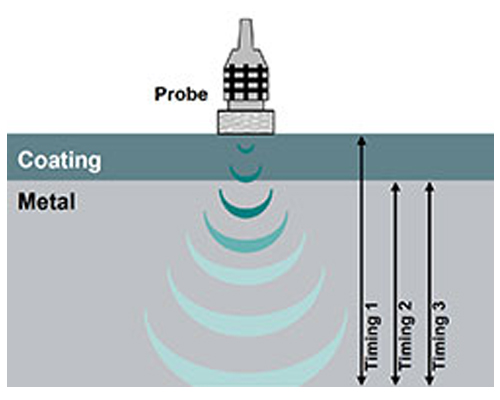
Ultrasonic Thickness gauging is carried out for in service piping, Tanks and pressure vessels for Petrochemical and Refinery piping. SHARPTEST completed thickness gauging projects for on shore and offshore piping. Thickness Gauging readings are recorded on isometric drawings for piping and vessels for gauged locations. Complete survey reports are submitted for the plant piping for review of Inspection Engineer. SHARPTEST is using digital UT flaw detectors and Through Coat Ultrasonic D-meters for Thickness measurement.
UT thickness gauging is also carried out for Ship hull structure, offshore drilling Rig structure. This thickness gauging surveys are carried out under the classification societies Like ABS, DNV, IRS etc.
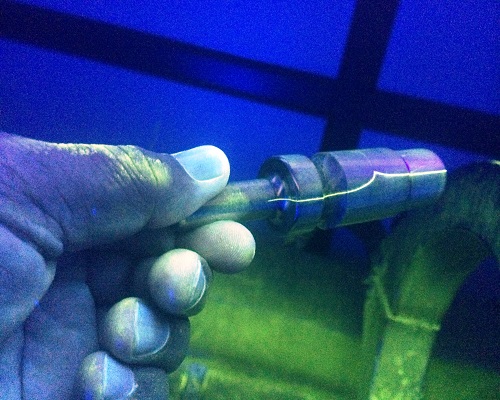
Magnetic Particle Testing used on Ferro magnetic material to detect surface and sub-surface (Near Surface) cracks and other discontinuities. This test proven very effective to detect in service fatigue cracks, Corrosion cracks in rotating equipment’s. This test is carried out as per SE 709 practice of ASME and acceptance for BPV is as per ASME SEC. VIII DIV 1 App. 6.
- Yoke Technique: Magnetic particle testing with Yoke technique is generally most affordable and convenient for site works. SHARPTEST uses Electromagnetic as well as permanent yoke as per requirement of Client and the specification. Yokes are used to test butt weld joints (Root Run and Final), Structural fillet weld joints, Rotor shafts; frames weld joints, studs, bolts etc.
- SHARPTEST uses all methods like:
1. Dry powder with HWDC
2. Wet Powder visible & Wet Visible with White Contrast
3. Wet Powder (Fluorescent) with Black (U.V.) Light
SHARPTEST Having 5000 Ampere Prod technique equipment which is used for following Test techniques. - Prod Technique: For Plates, Forgings, Castings and other Raw material
- Coil Technique: For longitudinal Magnetization of shafts, rods and similar items
- Central Conductor Technique: For Rings, bearings, Washers, and similar Products (Circular Magnetization)
- Head shot Technique: Circular Direct Magnetization for Round / square bars, shafts etc.
Liquid Penetrant Testing is common non destructive testing to detect open to surface discontinuities in any type of non Porous material. PT carried out as per SE 165 of ASME and acceptance for BPV as per ASME DIV. VIII App. 8. Penetrant Testing is having different types, Methods and techniques.
SHARPTEST uses three most popular techniques and methods of Penetrant Testing
- Solvent Removable Method (Visible & fluorescent)
- Water washable Method (Visible & fluorescent)
- Post Emulsification method (Visible & fluorescent)
Solvent Removable Methods contains three chemical: Penetrant, Cleaner and Developer. Penetrant having dark red color and penetrant in tight gaps like cracks and discontinuities due to capillary action and surface tension. After suitable Dwell time excess dye penetrant will be removed and developer will be applied on dry surface. Developer will be bleed out the penetrant entrapped in discontinuities by blotting Reaction.
SHARPTEST has completed Penetrant Testing for Weld joints of S.S., C.S. material, Shafts, in service piping and pressure vessel weld joints.
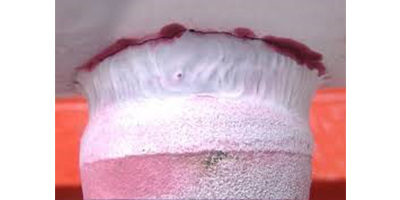
- Visual inspection is commonly defined as “the examination of a material, component, or product for conditions of nonconformance using light and the eyes, alone or in conjunction with various aids.
- Visual inspection often also involves, shaking, listening, feeling, and sometimes even smelling the component being inspected.
- Visual inspection consists of at least two major processes.
The first is a search process.
The second is a process of combining relevant knowledge, sensory input, and pertinent logical processes to provide an identification that some anomaly or pattern represents a flaw that poses a risk to the performance of the part.
- Visual inspection is commonly employed to support other NDT methods.
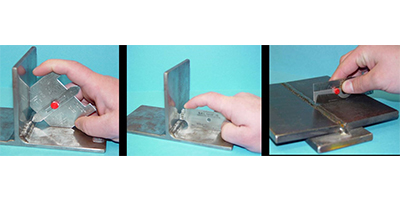
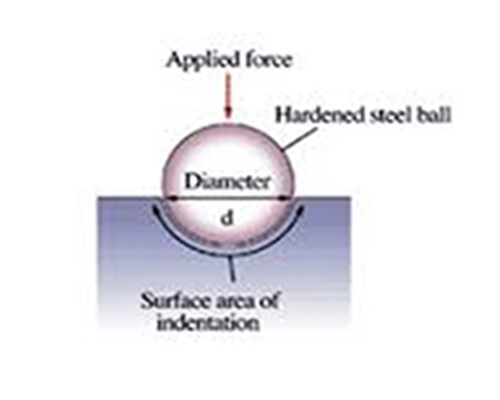
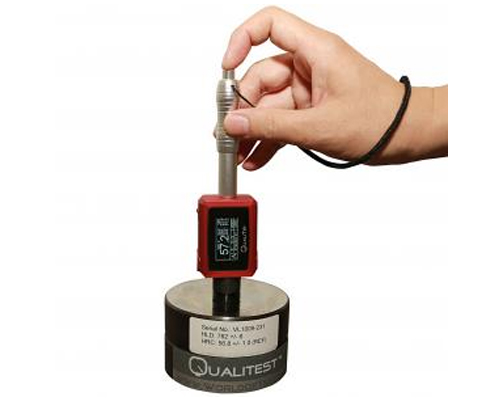
Hardness Test is carried out on various metals and welding prior to and after PWHT. SHARPTEST is using TIME TH 130, MH 320 Hardness Testing Machine for checking the Hardness.
Time TH 130 can used to measure the Hardness in various scales like – HLD, HRC, HRB, HRA, HB, HV etc. and it can be used for all metals like Steel, Cast steel, Gray cast Iron, Copper, Stainless Steel, Aluminium and alloys. This equipment can be used from any direction (0 -360 Degrees) to check the hardness of material. This is a good hand tool to check the hardness of material and to confirm the correct heat Treatment cycle. This is very handy equipment and Hardness can be done at in –Situ.
SHARPTEST NDE is experienced in carrying out positive material identification of stainless Steel and other austenitic material. SHARPTEST is using NITON make XRF based equipment to carry out the chemical analysis.
The analysis can be done for Cr, MO, Ni, Vanadium etc. elements and the results will be compared with the material composition in specification. + 10% tolerance is allowed for the reading by this method. This equipment is hand held gun type and PMI can be done at high elevations and In Situ. This equipment will not show the Carbon percentage.
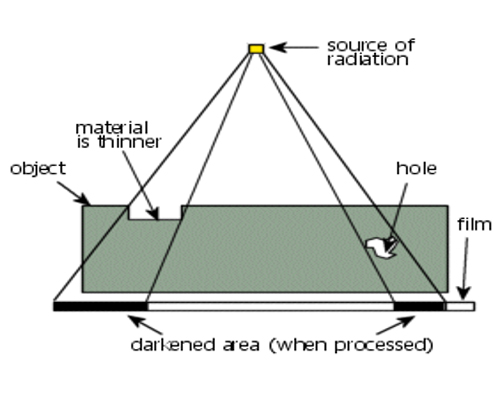
We are doing radiography Using X- Ray & Gamma Ray Sources. This NDT method involves the use of penetrating X or gamma radiation to examine objects for imperfections. Radiograph is a record of radiation transmission through the object.
Radiograph is produced by directing radiation through the object under examination and recording the transmission pattern on a photographic film.
Different material absorb radiation in a different manner and alter the radiation transmission. The density and composition of the internal features alter the transmission.
* The image is permanently fixed on a radiographic film.
We have in-house & onsite heat treatment facility:
- Is the controlled heating and cooling of metals to alter their physical and mechanical properties without changing the product shape?
- Is often associated with increasing the strength of material, but it can also be used to alter certain manufacturability objectives such as improve machining, improve formability, restore ductility.
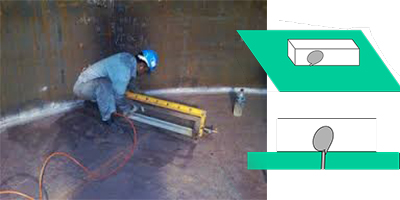
Vacuum created within a Perspex box Soapy liquid applied to surface Bubbles indicate through thickness defect
